Starlight
最简单写文档的工具
Starlight
最简单写文档的工具
Vercel
最方便的和ci/cd集成的部署平台
Starlight是Astro的文档模版。
$ npm create astro@latest -- --template starlightNeed to install the following packages:create-astro@4.7.4Ok to proceed? (y)
 astro   Launch sequence initiated.
   dir   Where should we create your new project?         ./site      ◼  tmpl Using starlight as project template
    ts   Do you plan to write TypeScript?         No      ◼  No worries! TypeScript is supported in Astro by default,         but you are free to continue writing JavaScript instead.
  deps   Install dependencies? (recommended)         ● Yes  ○ No   git   Initialize a new git repository?         ● Yes  ○ No
 ██████  Project initializing...         ▶ Template copying...         □ Dependencies         □ Git
 next   Liftoff confirmed. Explore your project!
         Enter your project directory using cd ./site         Run npm run dev to start the dev server. CTRL+C to stop.         Add frameworks like react or tailwind using astro add.
         Stuck? Join us at https://astro.build/chat
╭─────╮  Houston:│ ◠ ◡ ◠  Good luck out there, astronaut! 🚀╰─────╯
启动服务。如果上面你选了Install dependencies=yes,就不用手动执行npm install,如果=no,你需要手动执行npm install。
$ npm run dev
> site@0.0.1 dev> astro dev
17:04:32 [vite] Port 4321 is in use, trying another one...
 astro  v4.5.4 ready in 1183 ms
┃ Local    http://localhost:4322/┃ Network  use --host to expose
17:04:32 watching for file changes...17:04:40 [200] / 384ms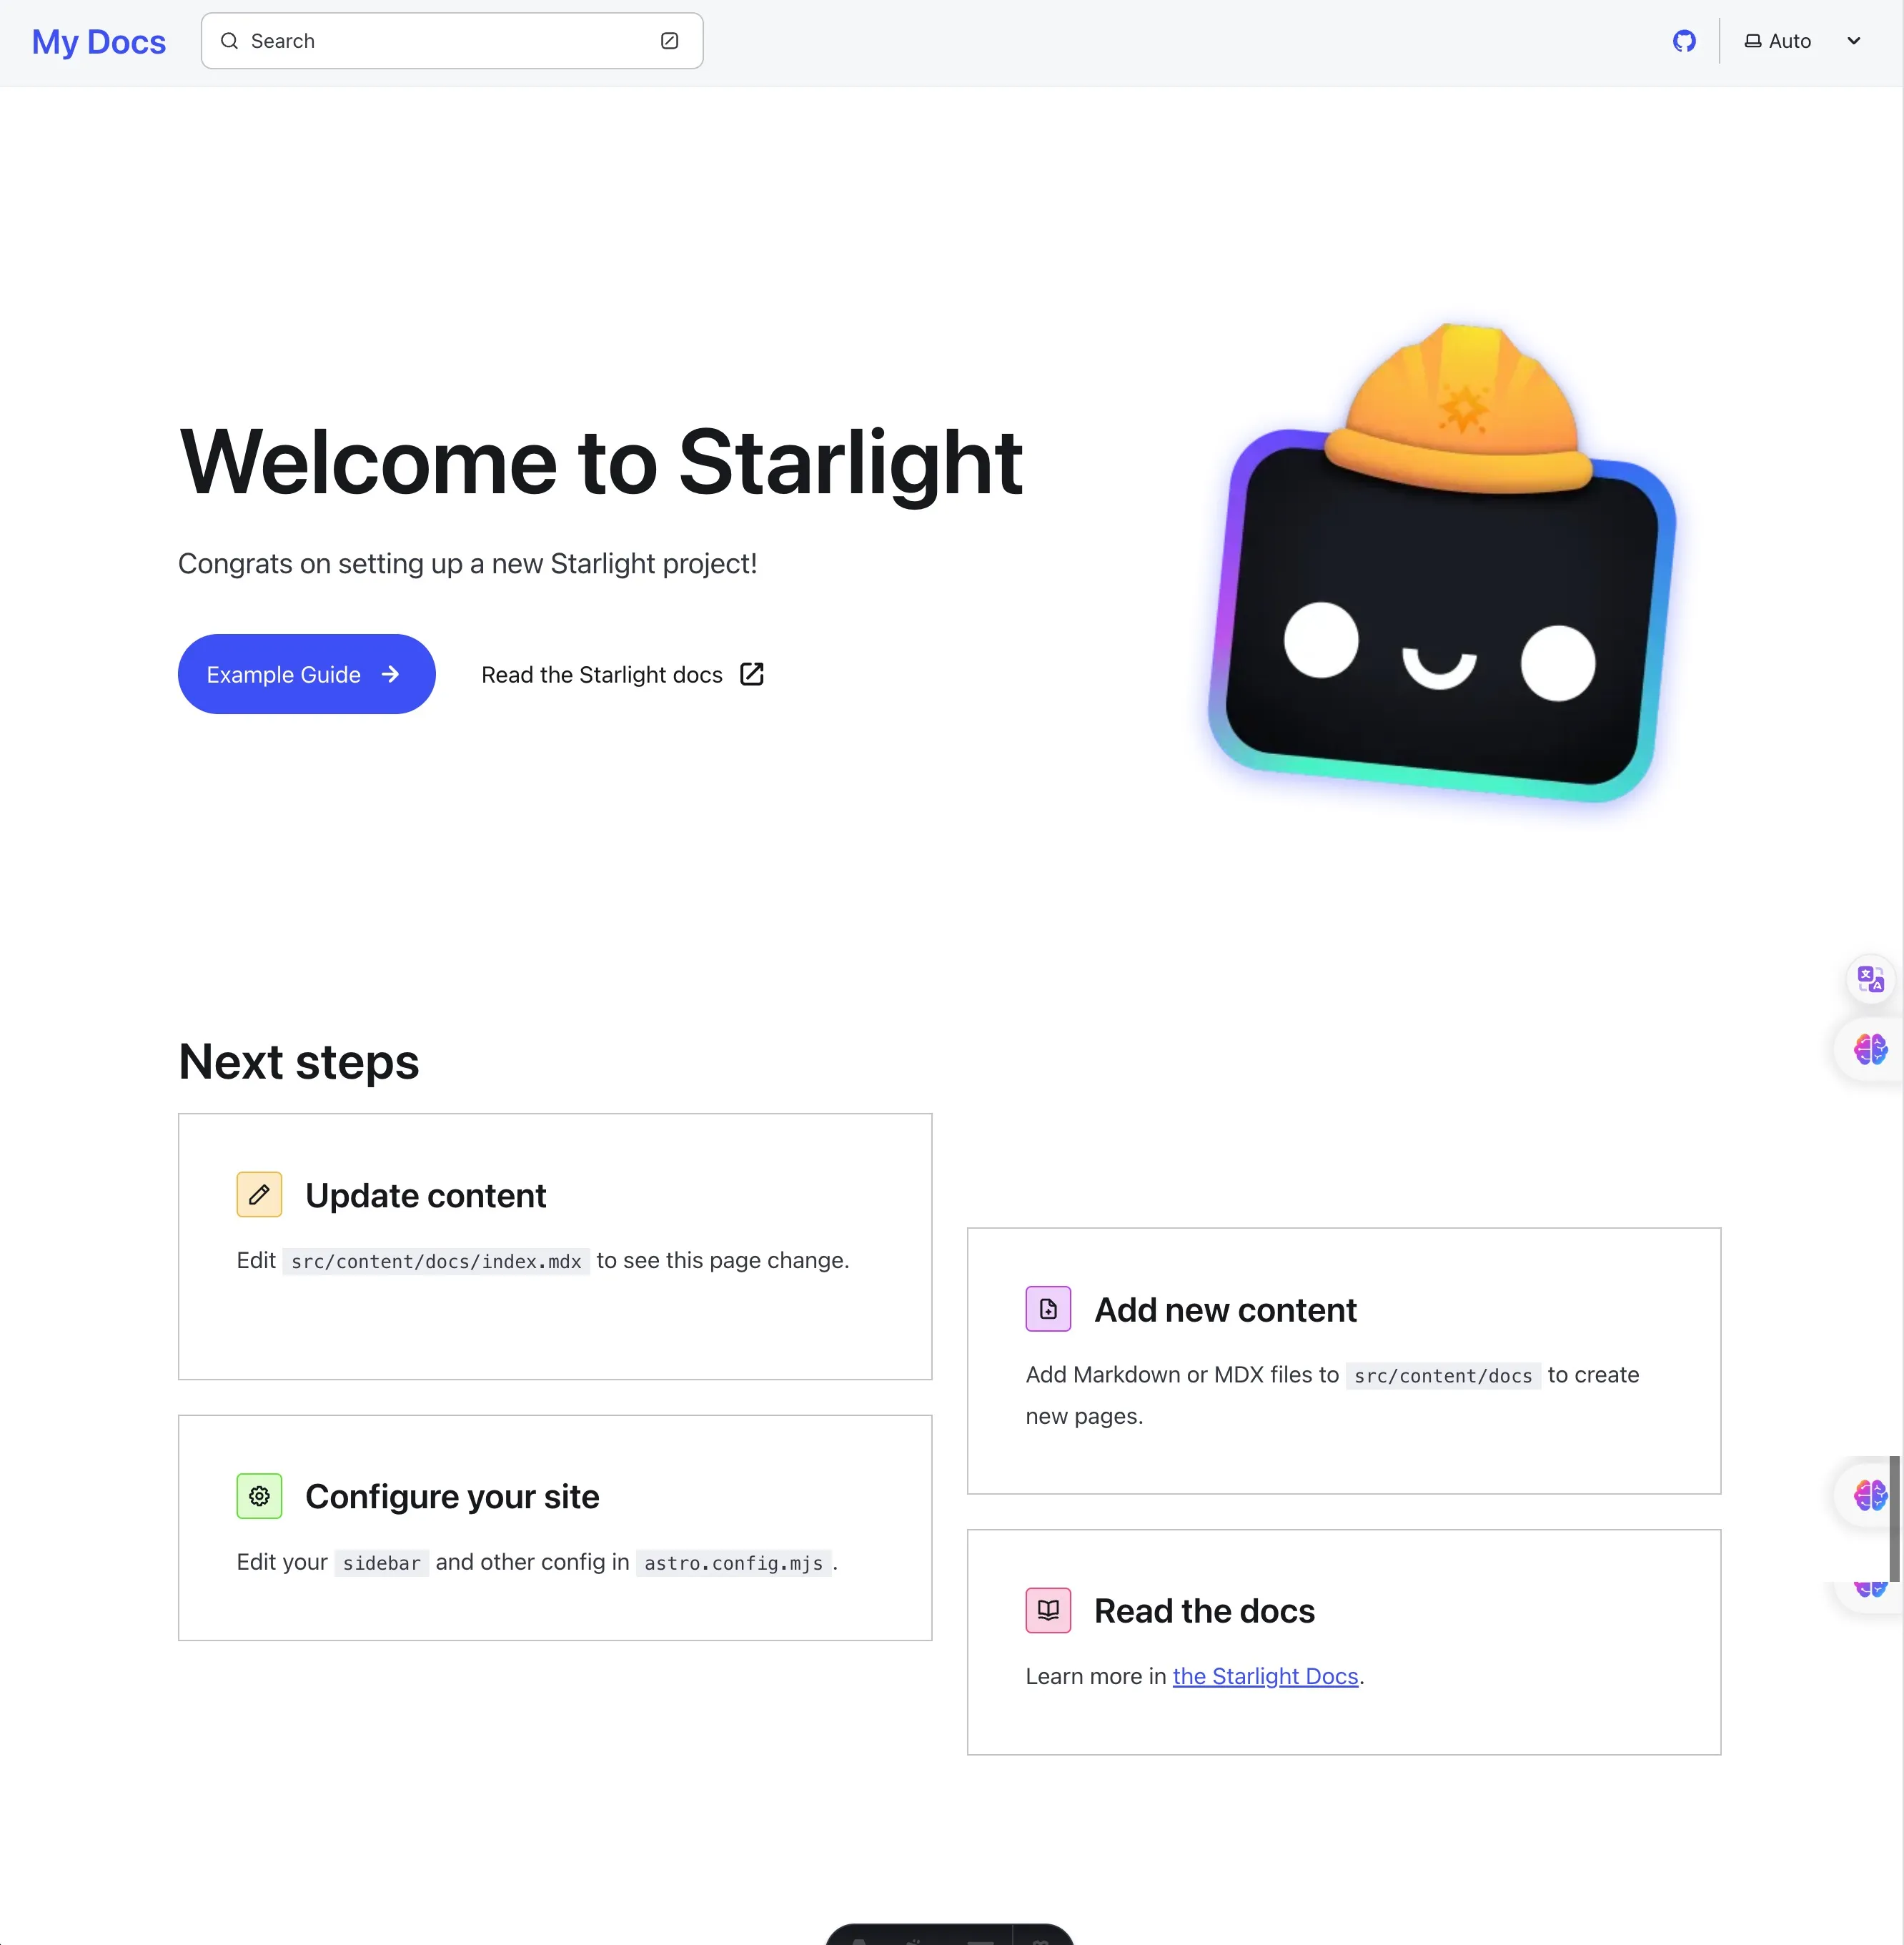
参考Astro官方文档。
Astro supports the following file types in the src/pages/ directory:
- .astro- .md- .mdx (with the MDX Integration installed)- .html- .js/.ts (as endpoints)
我一般喜欢
Vercel 是一个云服务平台,支持静态网站和动态网站的应用部署、预览和上线。Vercel 自身内置 CI(持续集成)/CD(持续发布),只要你将 Github 项目与 Vercel 关联,在 GitHub 项目进行代码推送,PR合并自动部署的目的,且你不需要考虑服务器部署问题。
Vercel 优势如下。
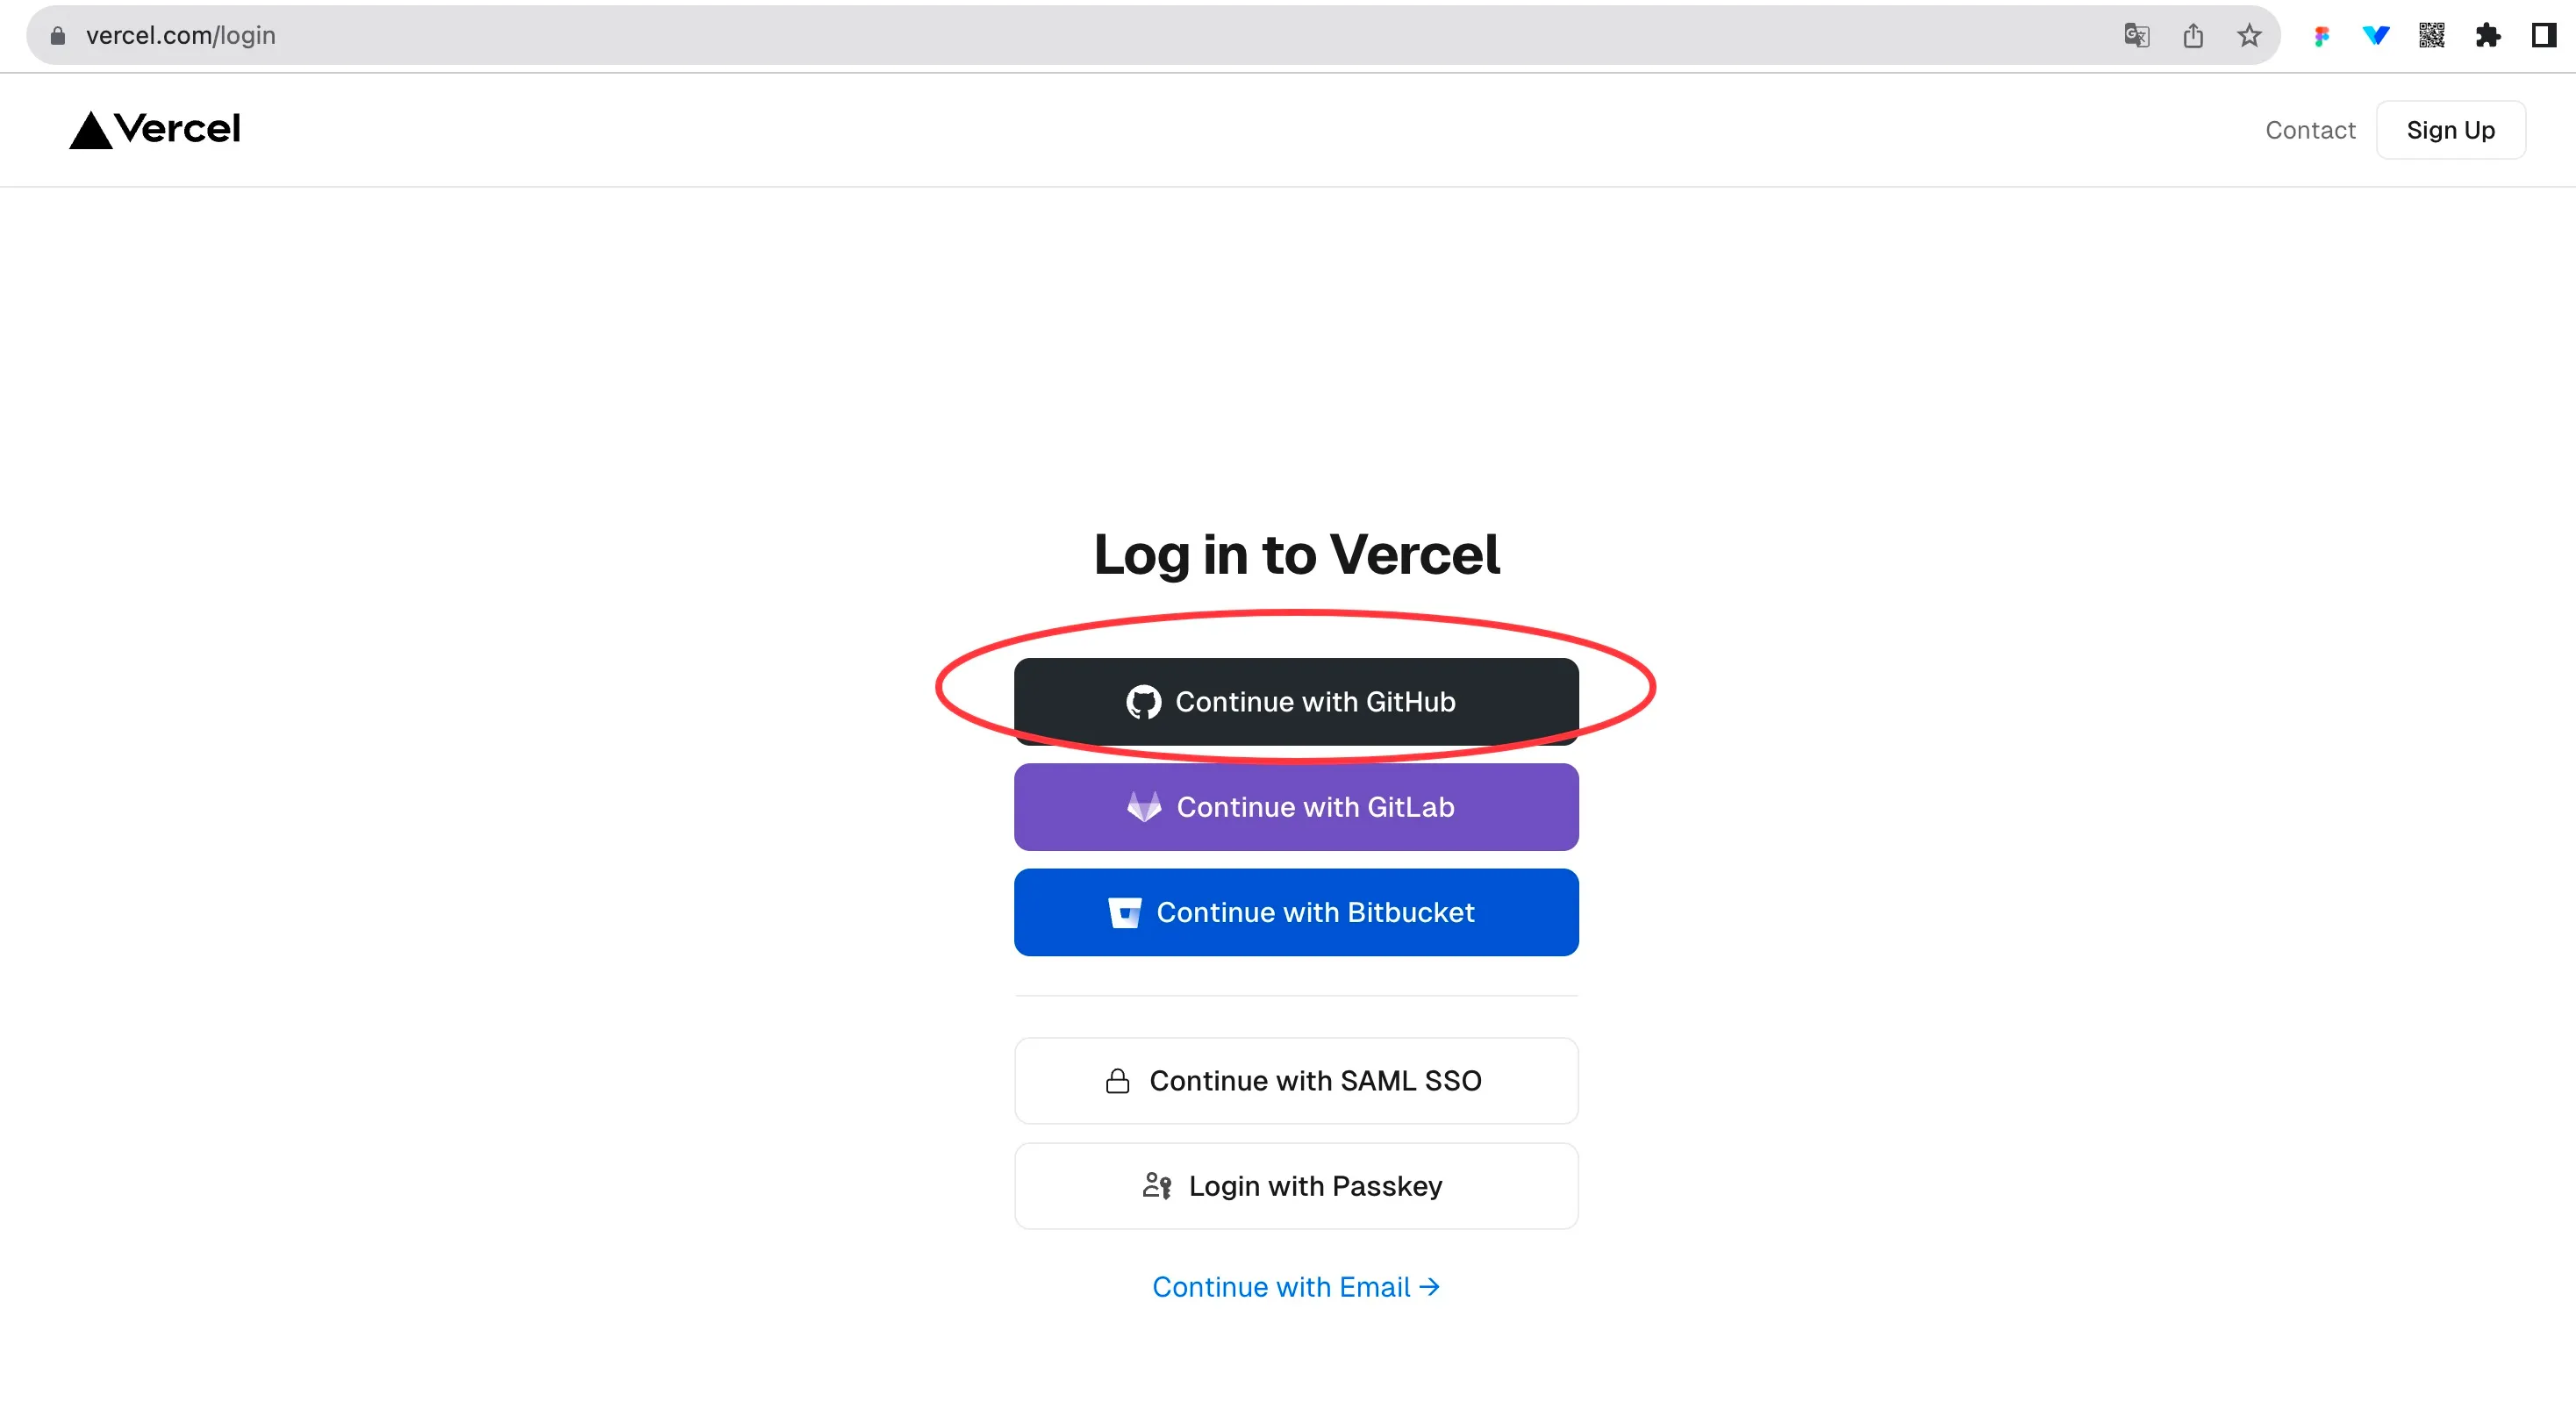
我推荐用Github账户。
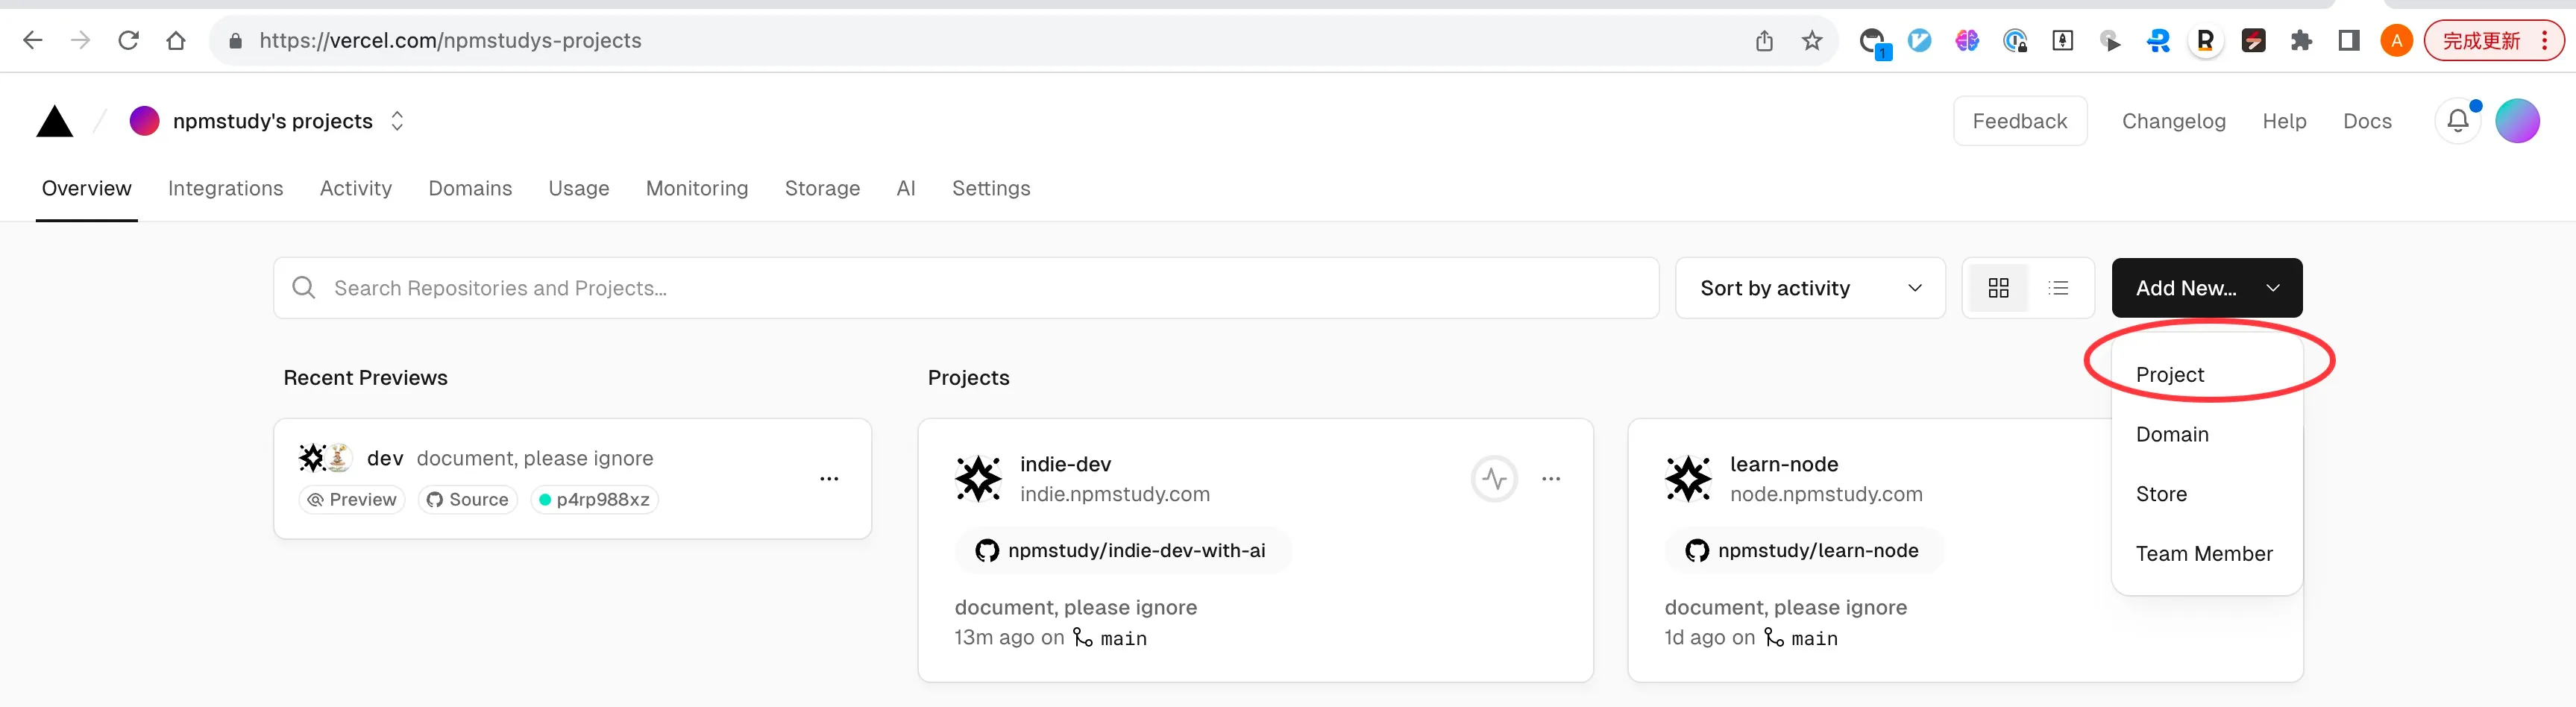
再提交Github代码,就会自动触发Vercel的部署,非常方便。
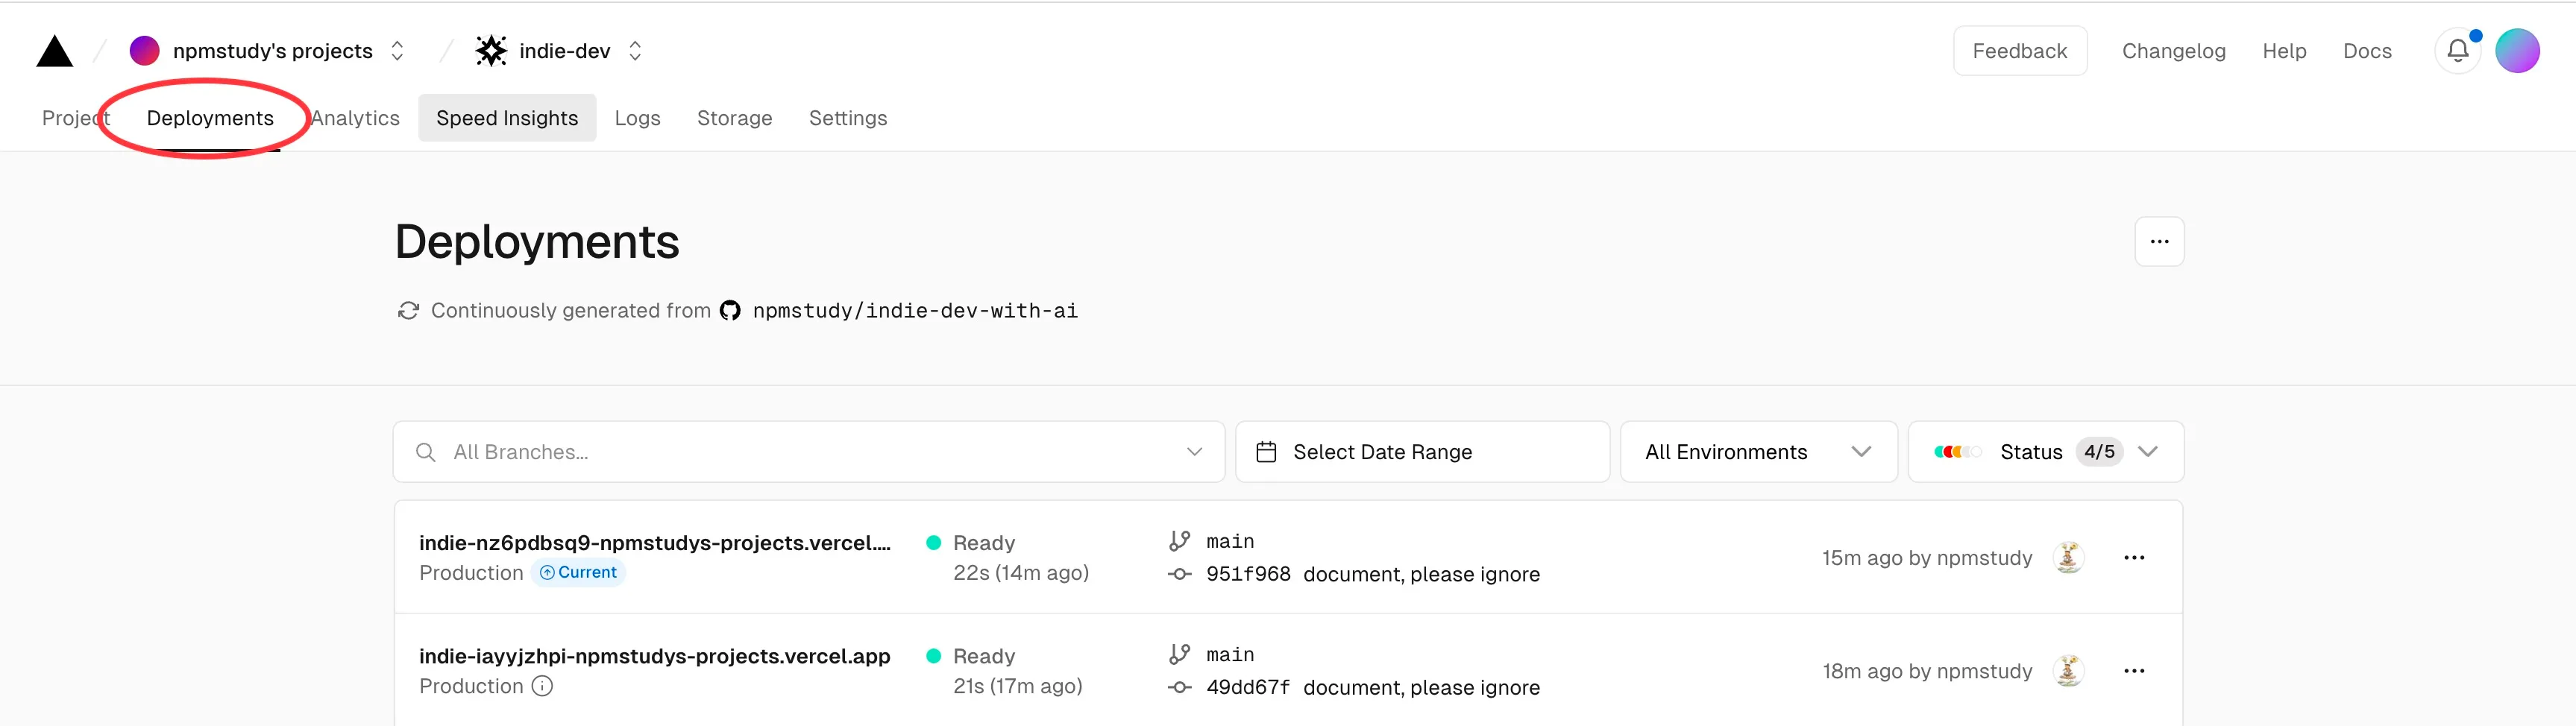
一般我们会有test、pre、prod等环境,后面专门讲解。
1、域名,用a类接入
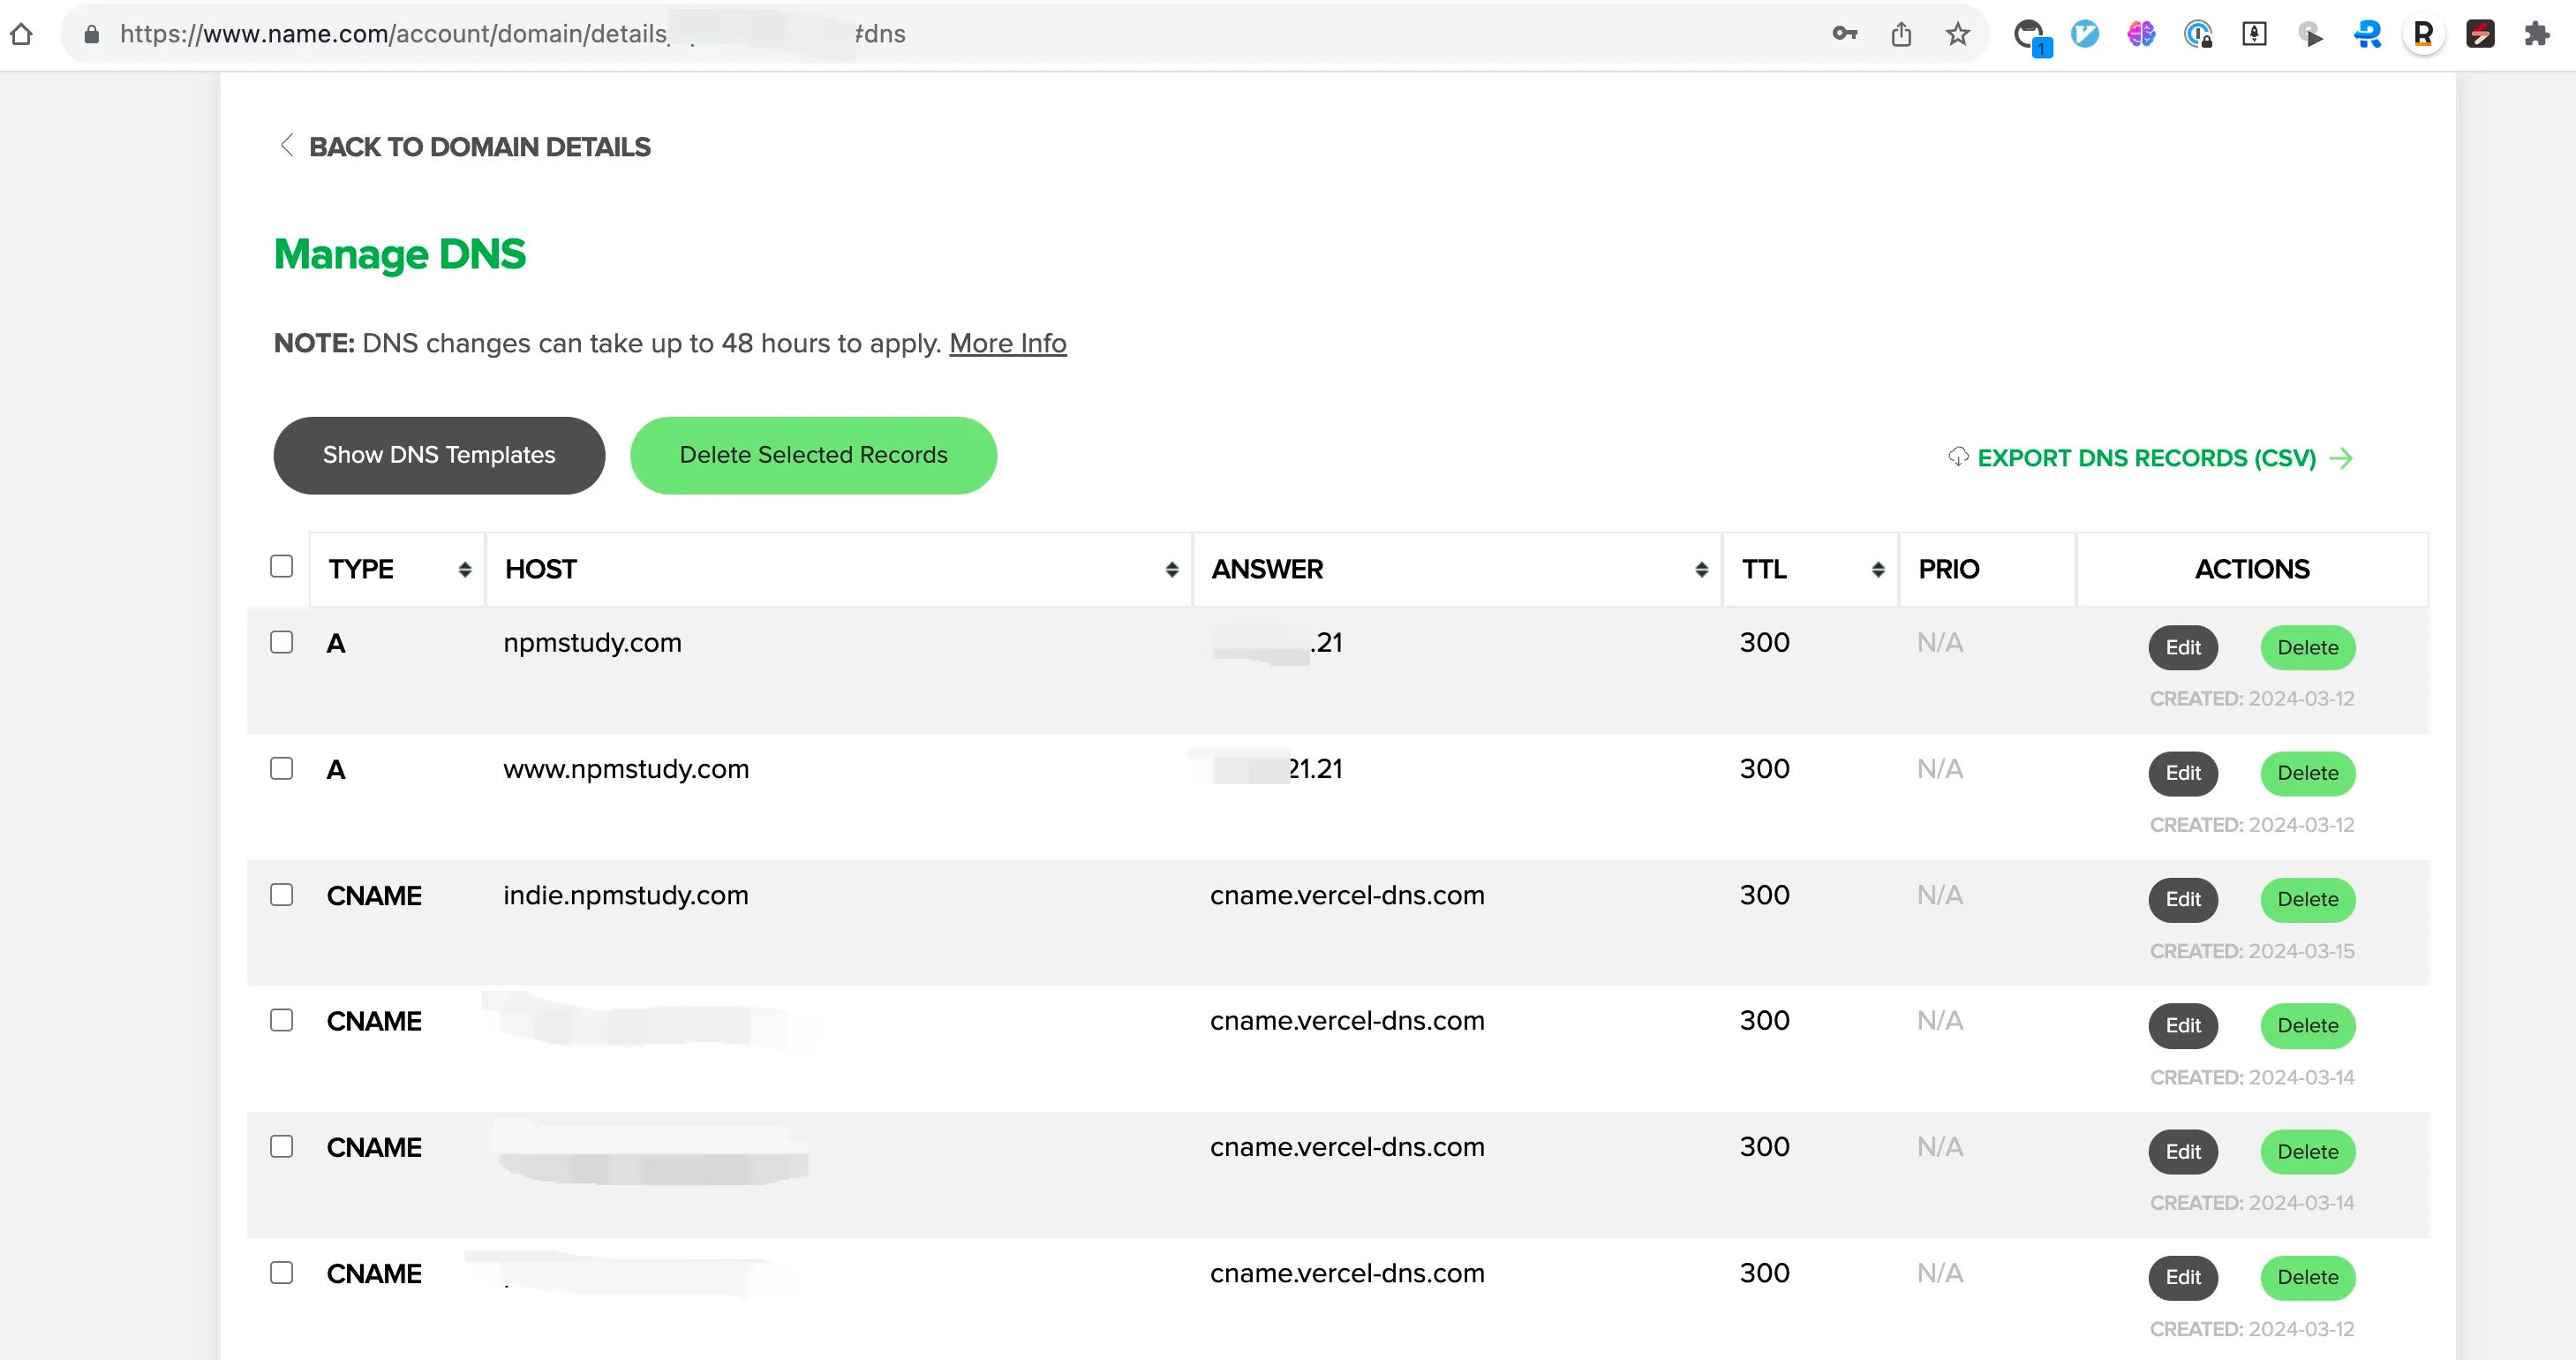
2、子域名,用cname接入
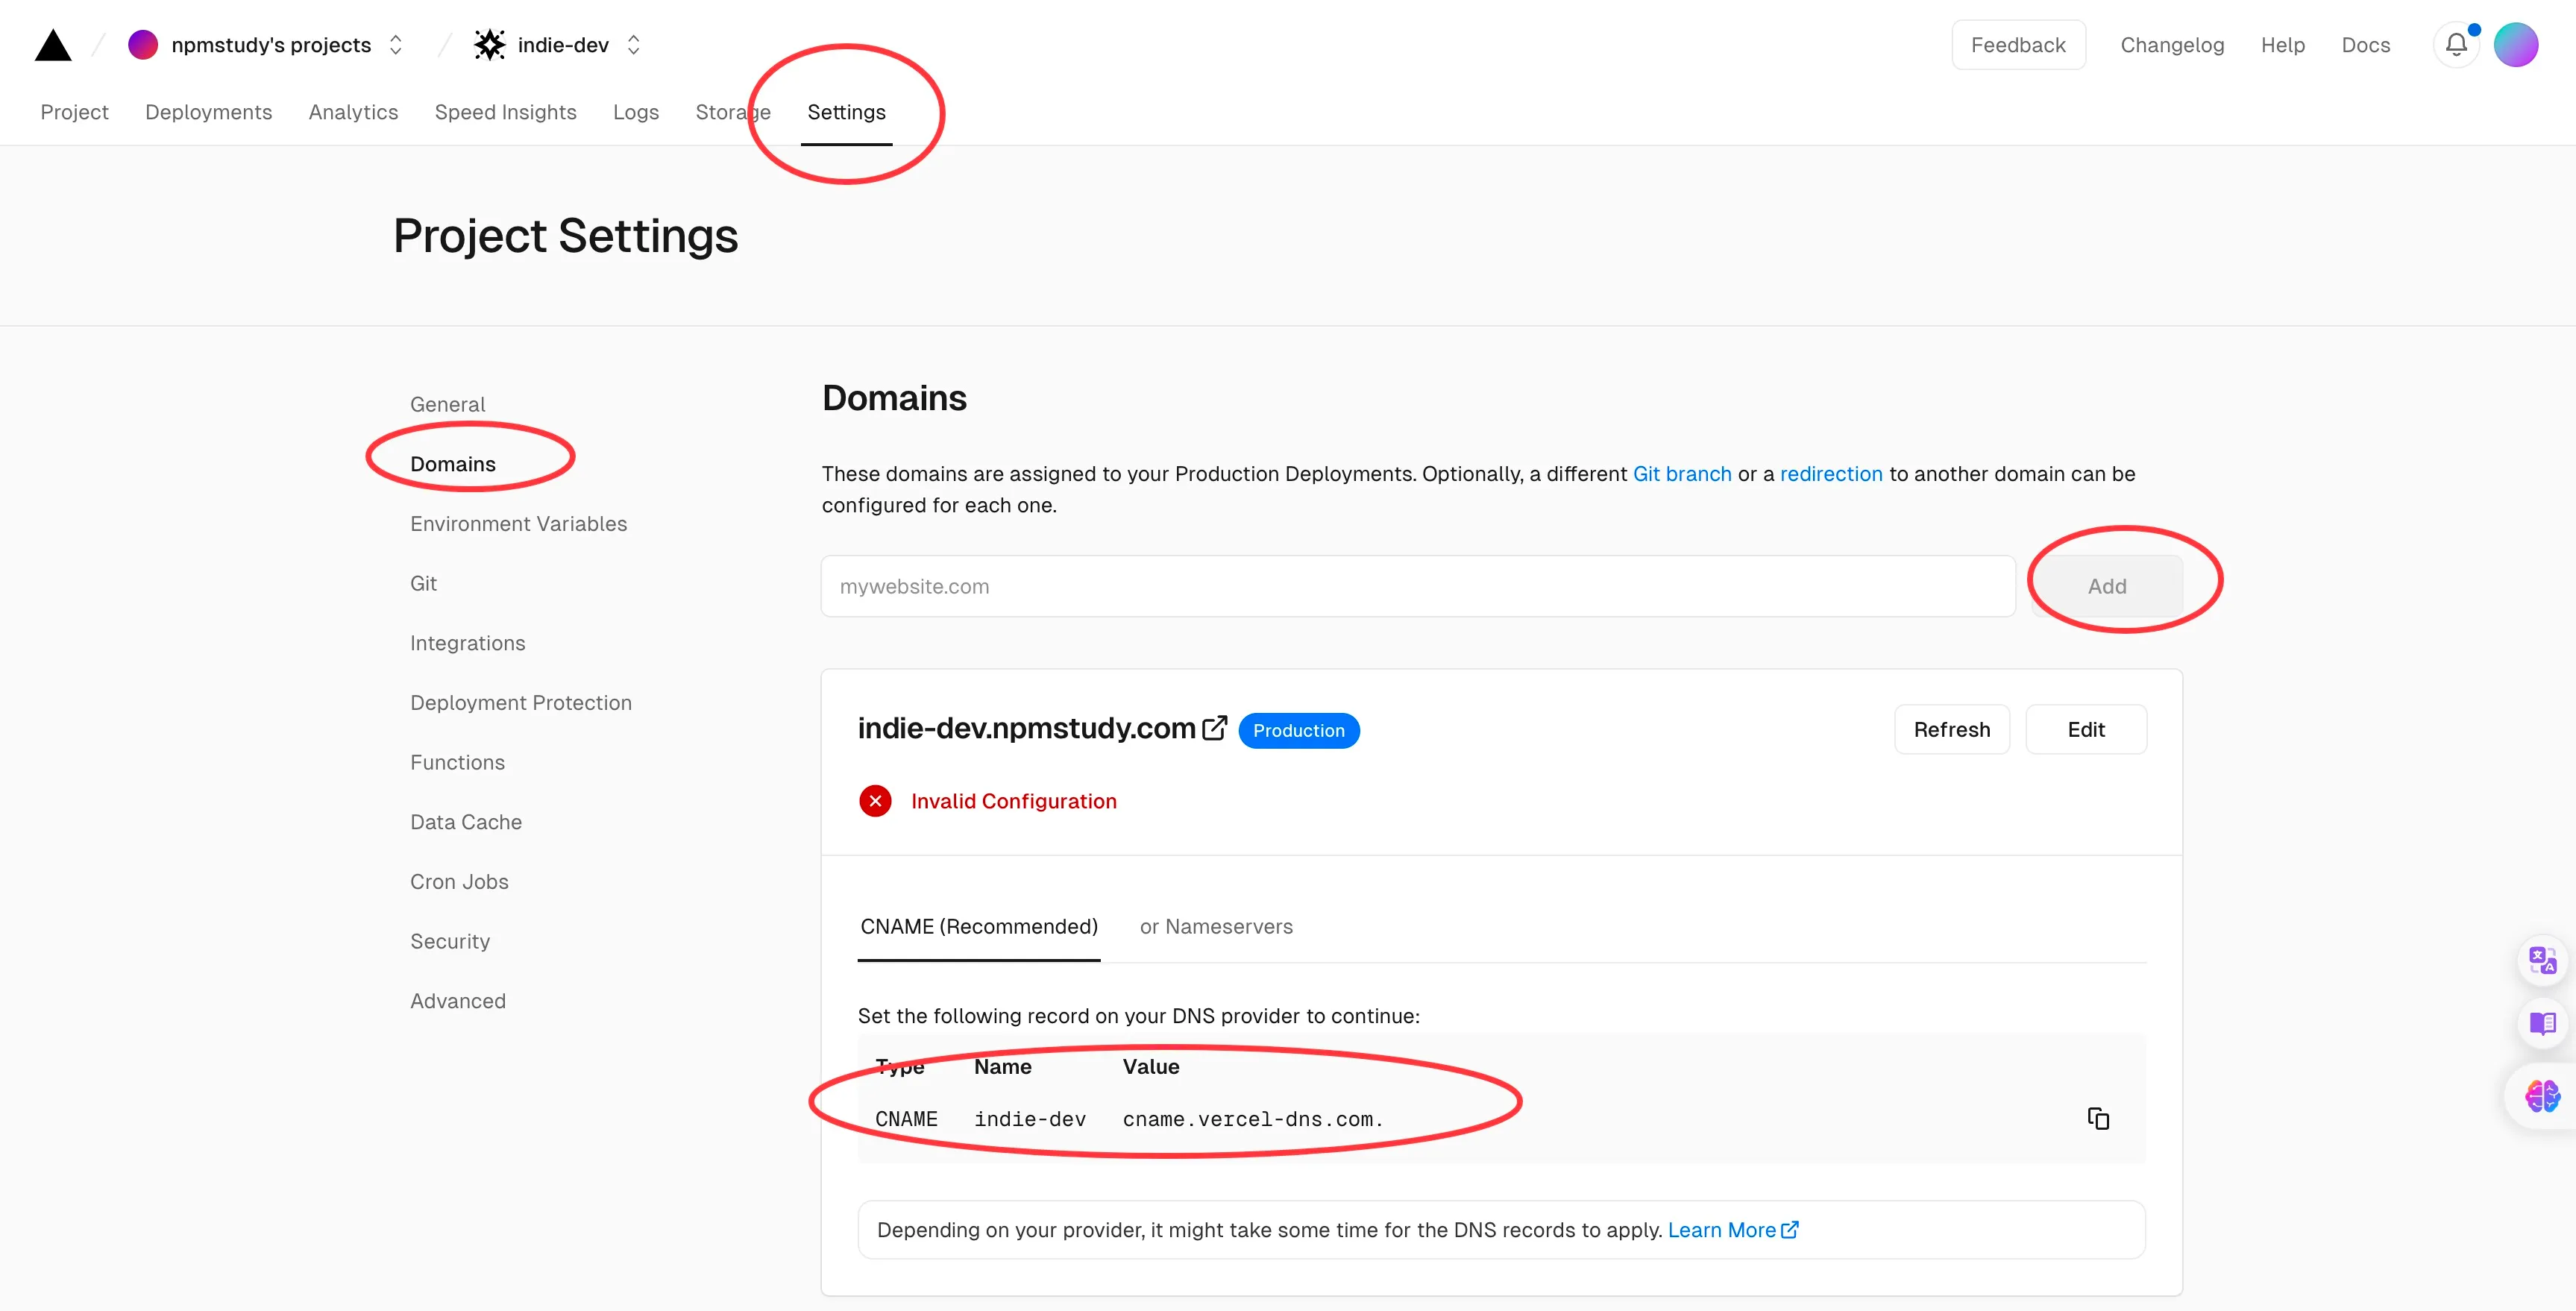
托管到vercel,所以vercel会自动检测
和astro一样。
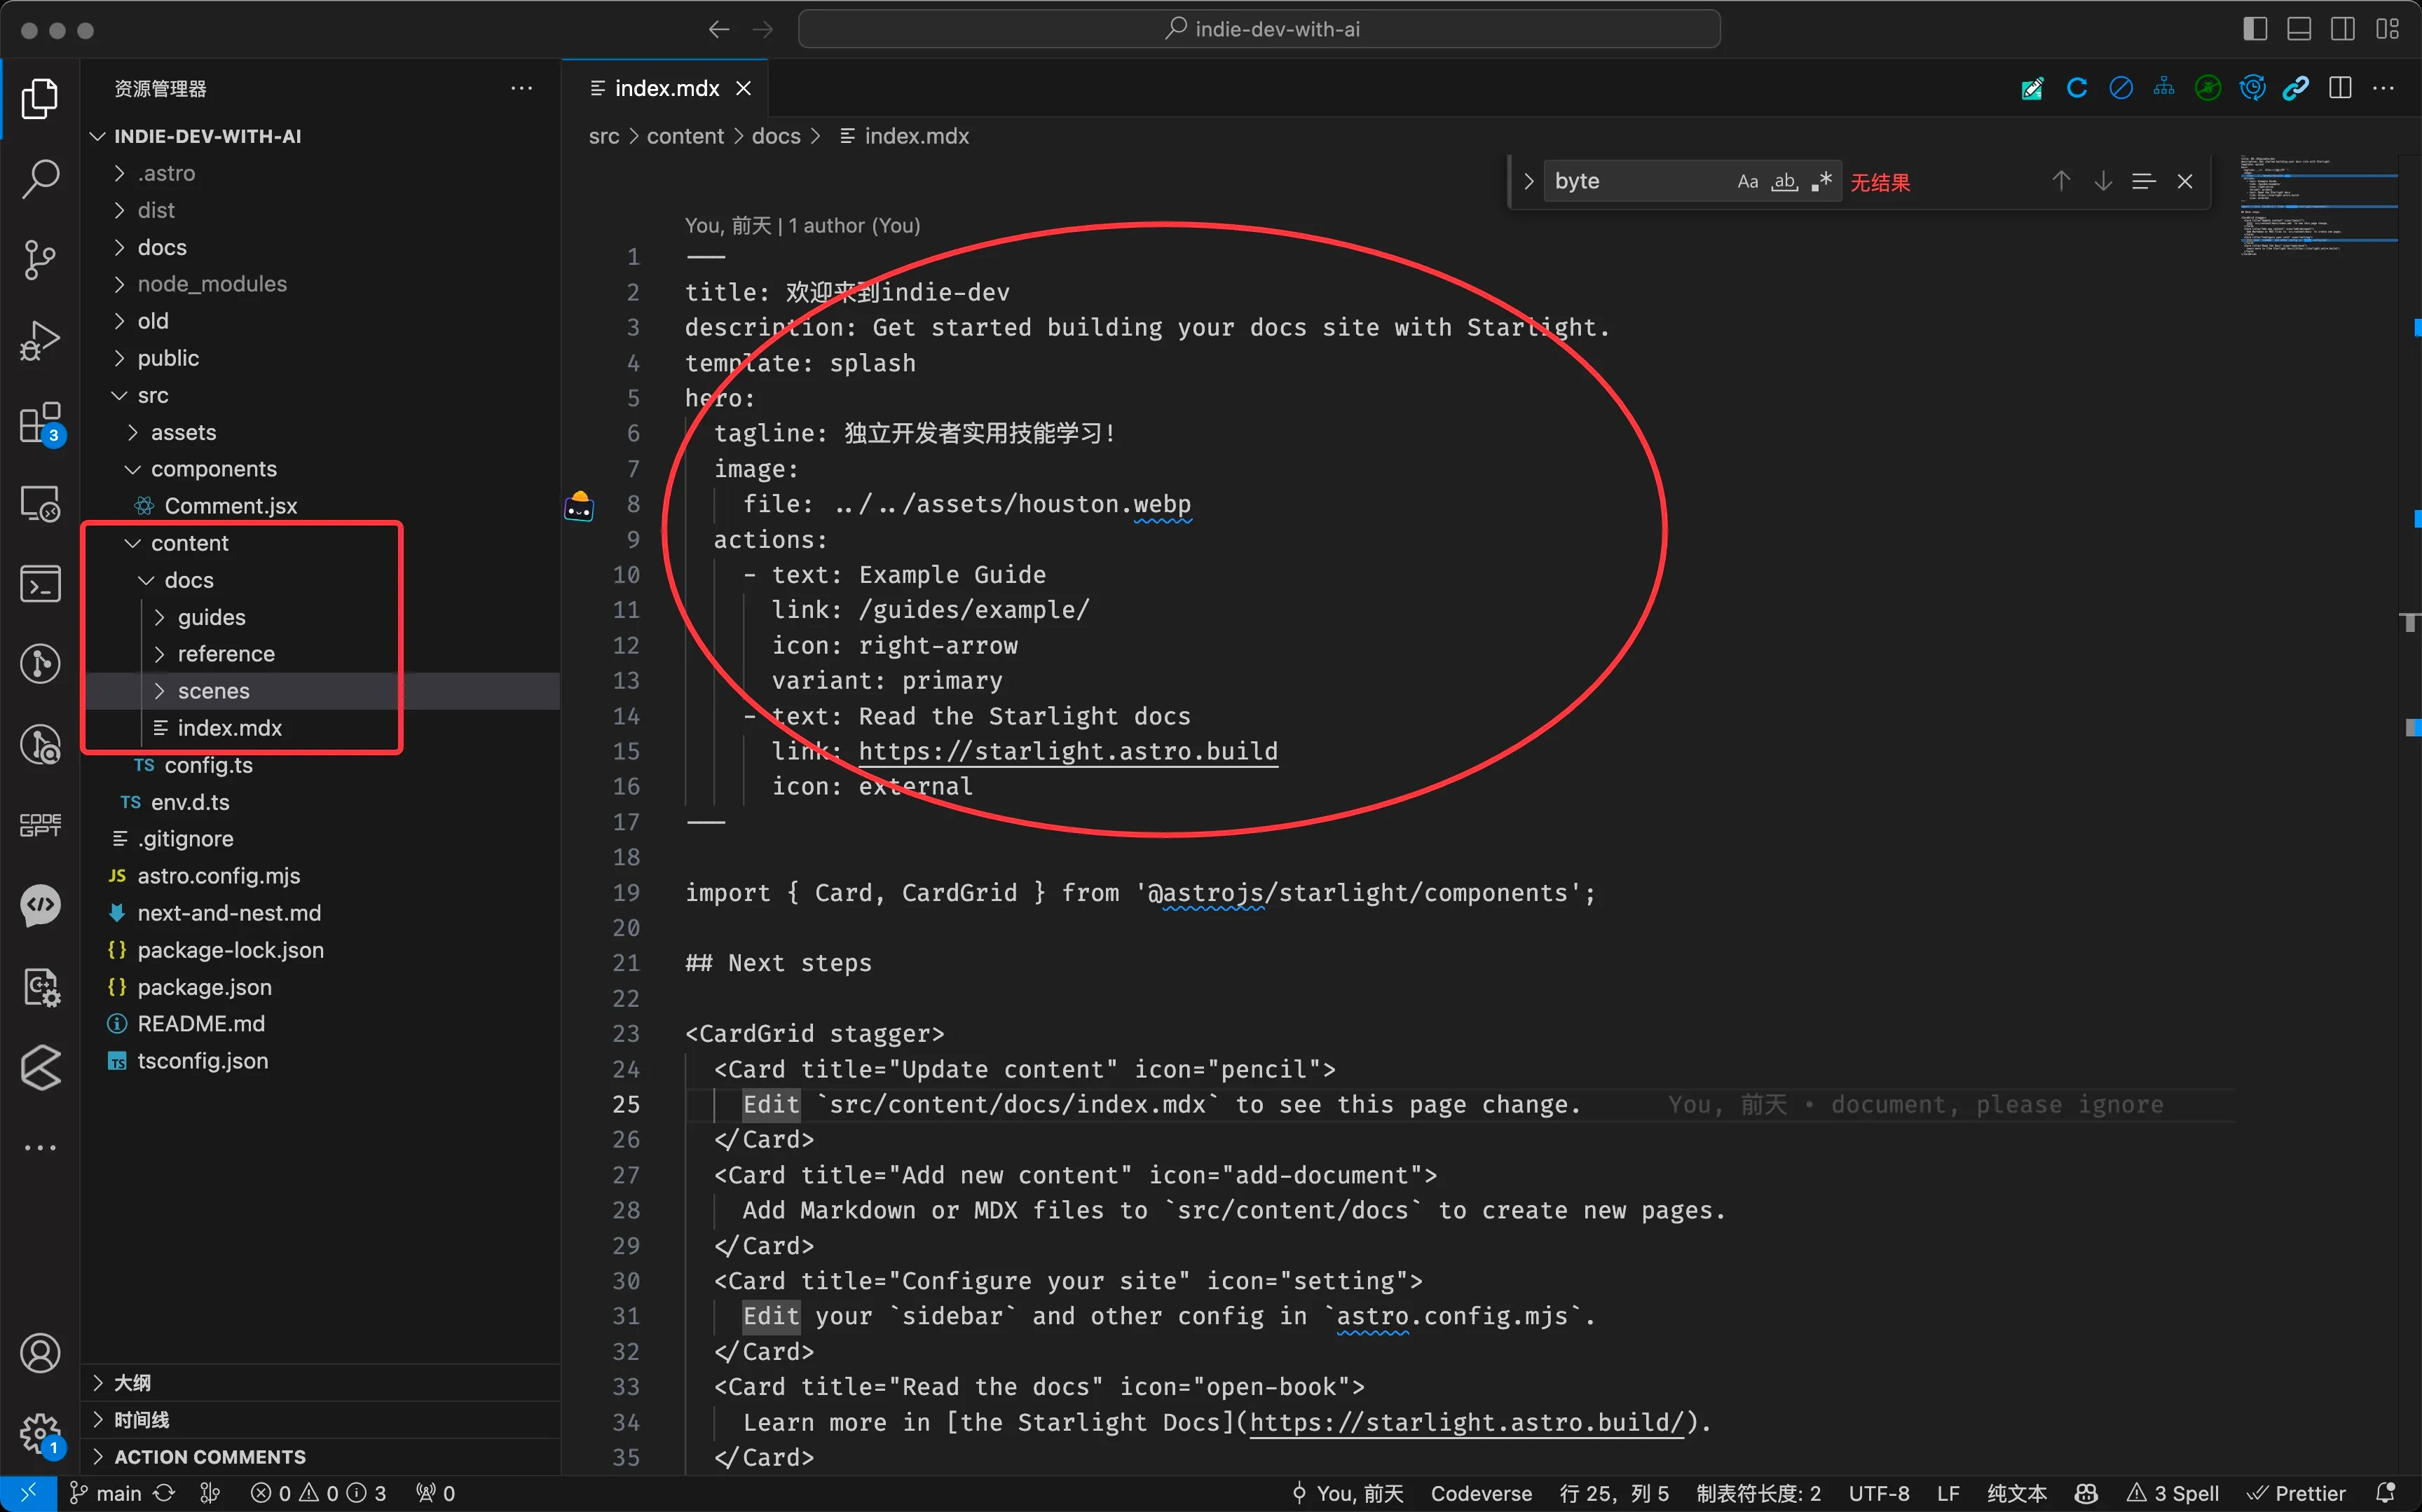
比如我在src/content/docs下新增空的fe.mdx,这时候编译会报错。
13:42:39 [ERROR] [InvalidContentEntryFrontmatterError] docs → fe.mdx frontmatter does not match collection schema.title: Required Hint: See https://docs.astro.build/en/guides/content-collections/ for more information on content schemas. Error reference: https://docs.astro.build/en/reference/errors/invalid-content-entry-frontmatter-error/ Stack trace: at getEntryData (file:///Users/npmstudy/workspace/npmstudy/indie-dev-with-ai/node_modules/astro/dist/content/utils.js:86:26) [...] See full stack trace in the browser, or rerun with --verbose.原因是title不存在,但它又是必须的。astro这个Hint提示还不错。
此时在fe.mdx里增加下面一段文本即可。
---title: 这是一篇react自学路径指南description: A guide in react roadmap for self-study.---注意
更多配置项参考 https://starlight.astro.build/reference/frontmatter/。如果大家熟悉hugo等都是类似的,参考 https://gohugo.io/content-management/front-matter/。
使用内置组件,文档 https://starlight.astro.build/guides/components/。内置组件都是平时写文档中我们最长使用的。
内置组件名单
举个例子,本文档,最上面的代码即内置组件调用。
import { Card, CardGrid } from '@astrojs/starlight/components';
import Comments from '../../../components/Comment.jsx';
<CardGrid> <Card title="Starlight" icon="star"> 最简单写文档的工具 </Card> <Card title="Vercel" icon="moon"> 最方便的和ci/cd集成的部署平台 </Card></CardGrid>增加react支持,需要先安装react依赖的,此步骤必选。
$ npx astro add react官方文档里的组件用法,代码如下,它只是演示了如何应用.astro组件的用法。
---title: Welcome to my docs---
import SomeComponent from '../../components/SomeComponent.astro';import AnotherComponent from '../../components/AnotherComponent.astro';
<SomeComponent prop="something" />
<AnotherComponent>  Components can also contain **nested content**.</AnotherComponent>
.astro组件和react组件,其实没啥本质区别,唯一需要注意的就是组件加载声明周期控制,即使用client指令。
client:load 它的意思Load and hydrate the component JavaScript immediately on page load.client:only={string} 回跳过HTML server-rendering, 并且只在client上渲染。使用React组件,这里以评论为例
<Comments client:only="react" />在src/components下新建Comment.jsx,这个评论服务,采用的是giscus,即基于github的discussions来实现的,数据存在github上,对于公开和面向开发的评论是比较友好的。
// @ts-nocheckimport * as React from "react"import Giscus from "@giscus/react"
const id = "inject-comments"
function getSavedTheme() {  return window.localStorage.getItem("starlight-theme")}
function getSystemTheme() {  return window.matchMedia("(prefers-color-scheme: dark)").matches    ? "dark"    : "light"}
const Comments = () => {  const [mounted, setMounted] = React.useState(false)  const [theme, setTheme] = React.useState(getSavedTheme() || getSystemTheme())
  React.useEffect(() => {    // 监听主题变化    const observer = new MutationObserver(() => {      setTheme(getSavedTheme())    })    observer.observe(document.documentElement, {      attributes: true,      attributeFilter: ["data-theme"],    })
    // 取消监听    return () => {      observer.disconnect()    }  }, [])
  React.useEffect(() => {    setMounted(true)  }, [])
  return (    <div id={id} style={{ marginTop: "50px" }}>      {mounted ? (        <Giscus          id={id}          repo="npmstudy/indie-dev-with-ai"          repoId="R_kgDOLgl_xw"          category="Announcements"          categoryId="DIC_kwDOLgl_x84CeBtg"          mapping="pathname"          reactionsEnabled="1"          emitMetadata="0"          inputPosition="top"          lang="zh-CN"          loading="lazy"          theme={theme}        />      ) : null}    </div>  )}
export default Comments至于上面的配置,参考https://giscus.app/zh-CN。
这下面是演示的评论组件,也是可以真是用的。